Starting to feel a
little cooped up? Physical and
psychological well-being go hand in hand. Not only can the winter weather put a
halt to many of our regular routines, but it can also be extremely stressful.
You might be re-arranging your schedule due to nasty commuting conditions,
straining to keep the driveway and walkways shoveled, salted, and sanded or
simply cooped up indoors with anxious pets and energetic children. Regardless,
you are feeling the stress and stress is harmful to your well-being.
Too much stress can
expedite the aging process and increase your risk for heart conditions.
Regular exercise is
an extremely effective way to reduce stress. Not only does regular exercise
decrease stress but it increases the oxygen supply to your brain, stimulating
that “feel good” sensation that seems to be missing right now. For some,
getting away from the cramped quarters and finding 30 minutes of time to take a
walk, do some cardio, or see your personal trainer is exactly what you need to
relieve the tension. For others, escaping from the seclusion of your snowed-in
house and meeting a friend or simply enjoying the social interaction of others
while enjoying group-exercise is what you need. For many of us, the thought of
doing anything outdoors is unbearable, but that doesn’t mean you should huddle
up and let the stress take over.
Don’t let yourself
stress about fitting exercise into your routine when the weather takes over.
Reduce your stress
and plan ahead for your visit to the gym.
Step one in stress reduction: Be prepared.
Pack
Don’t plan on
exercising in your boots. The night before, grab a gym bag, backpack, or
plastic bag. If you want to do some land exercise pack your sneakers, a t-shirt
and your favorite pair of yoga pants or shorts. If you want to enjoy the heated
indoor pool (88°), pack your suit, towel, and flip-flops. Don’t forget that
water bottle! Packing before will decrease your worries about “having enough
time” and increase your likelihood of following through with your commitment.
Call Ahead
Less people outdoors
means more people indoors. Don’t let yourself miss out on that SPIN, YOGA, or
WATER INTERVAL class. Call ahead and reserve a spot on the list and you can
check another stressor off your list.
Leave Early
The roads may or may
not be plowed, salted, or sanded. Some people are in a rush, but you don’t need
to be! Everyone knows that travel conditions are poor; don’t take the blame but
don’t let it stress you out either. Leaving just five minutes early can make
all the difference in the world and there is no guilt in arriving early to the
gym.
Step two in stress reduction: Take care of yourself.
Be Mindful
Leave work at work
and home at home. Let yourself slip away into the oasis of the pool, listen to
the beat of your feet on the treadmill or your favorite music-mix, or simply
focus on your breathing. Being mindful decreases anxiety and depression. Focus
your mind inward, bringing your attention to your body and the sensations of
the moment. Feel the stress leaving your body as you exercise. You deserve
this.
Rest & Recover
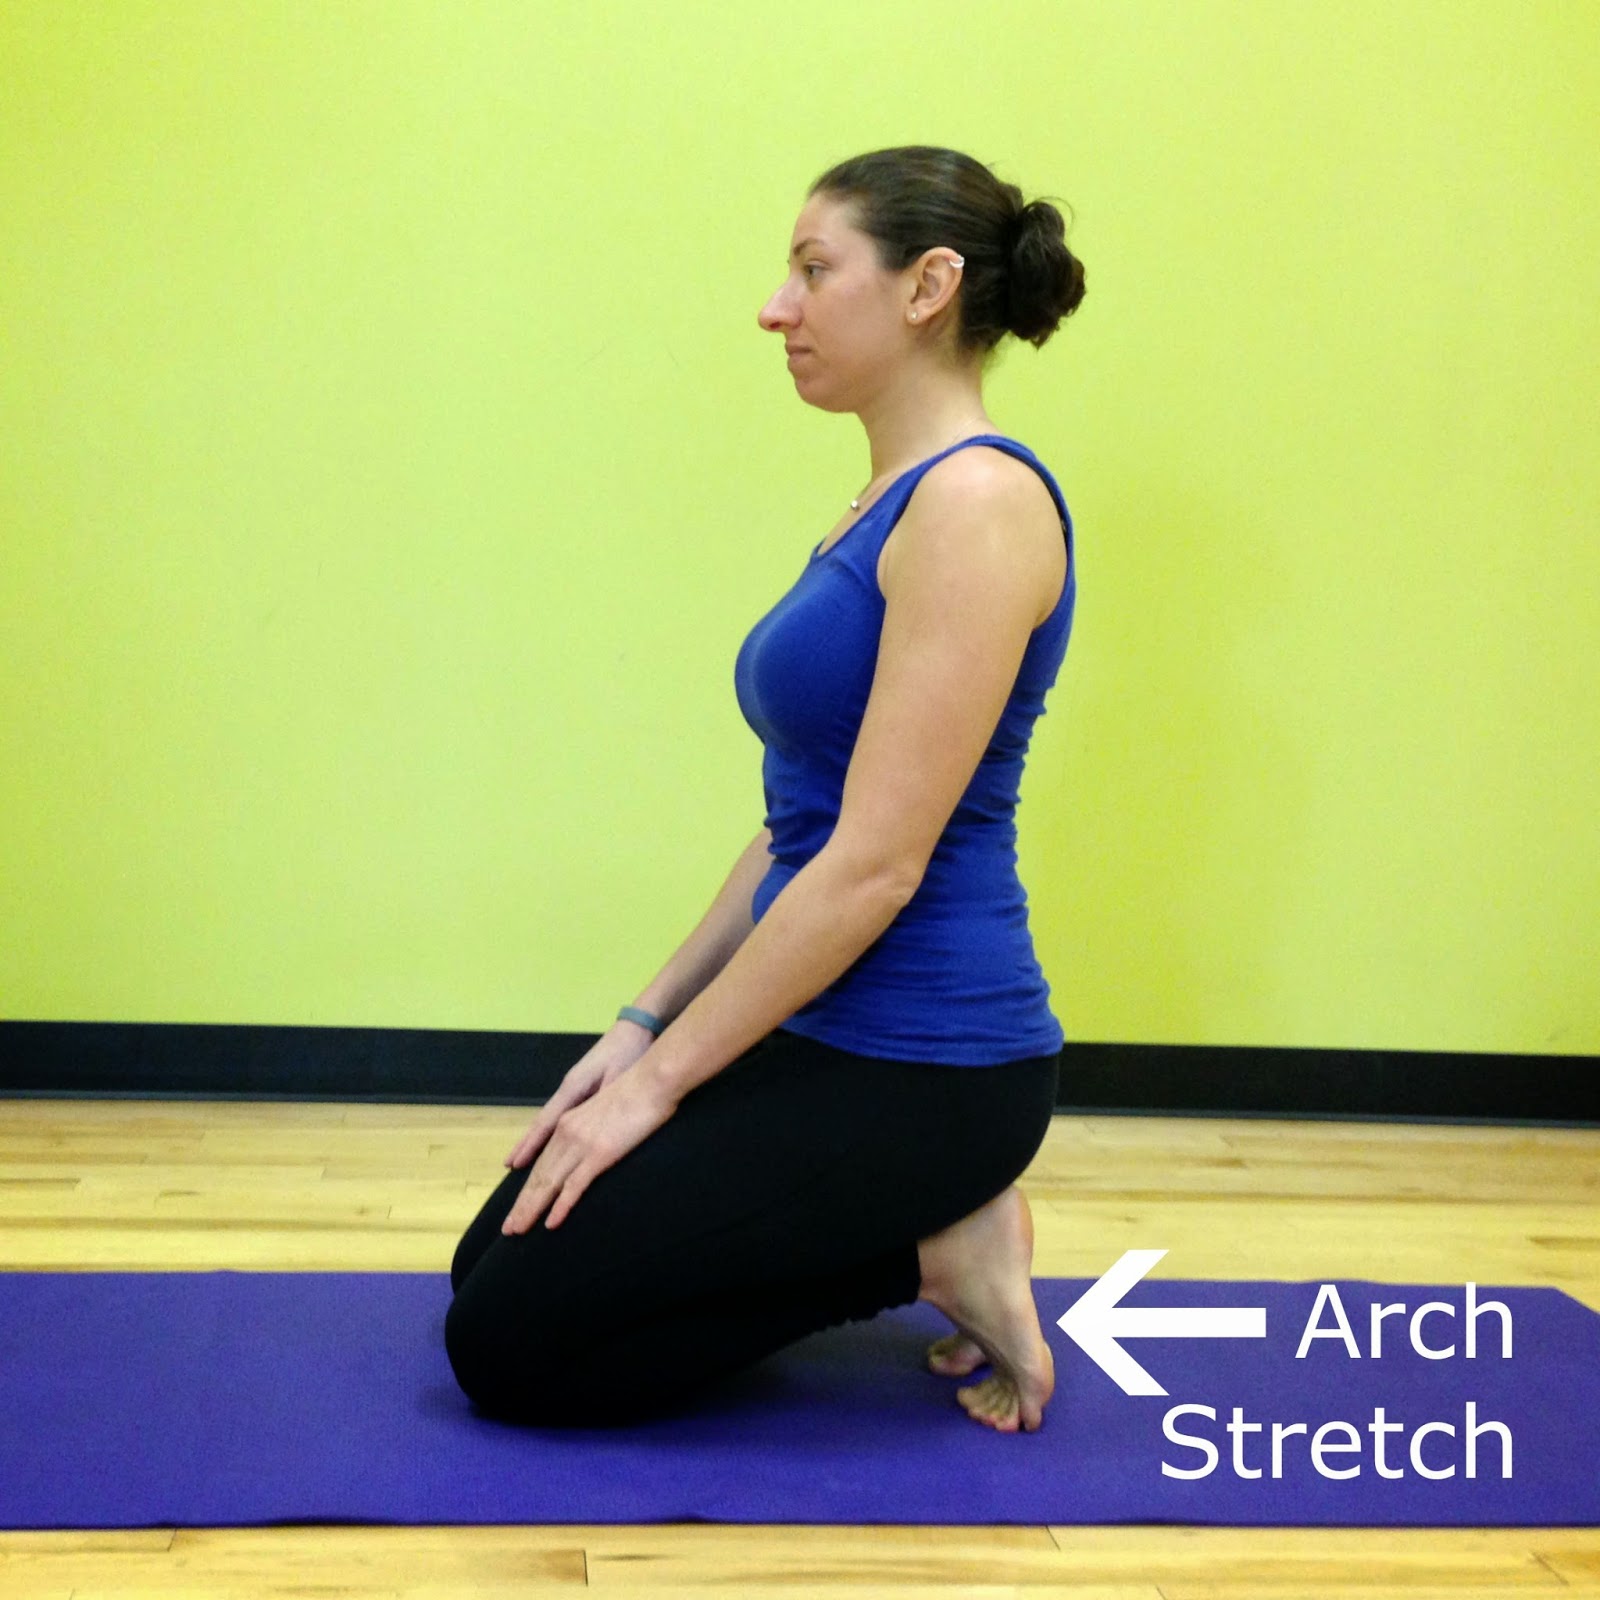
Finish off your
routine with a little stretching, a hot shower, or sitting for a few minutes in
the pool jets. Hydrate and fill up on a nutritional winter meal. I recommend
crock-pot meals for stress reduction (easy prep and clean-up). Try spaghetti
squash with meat sauce in the crockpot – one of my personal favorites! For a
low calorie hold-the-guilt beverage try
adding cut up fruit to your water (strawberries, kiwis, or lemons).
Step three: Relax.
Congratulate
yourself on sticking to your commitment and taking a little time for yourself.
Take a deep breath and kick back your feet. You earned it!